[Making Intelligence] Obstacle Ten // What's Your Problem?


Project Brief

"Design and make an artifact that resolves a problem that you have defined."


Tools and Materials Used

Acrylic
Loop clamp
Nuts and bolts
Laser cutter
Prototyping: Paper


1) Problem & Prototypes

Daily, I bike to and from campus. Living in Pittsburgh, I often bike in the rain and end up with a soaked backside and a muddy backpack. I have yet to buy a splash guard for my bike since this situation does not occur often enough to motivate me to go out of my way to purchase and install a splash guard. However, since I have been given the opportunity to solve an every day problem, I decided to solve this problem of a wet backside by custom designing and producing a splash guard for my bike.

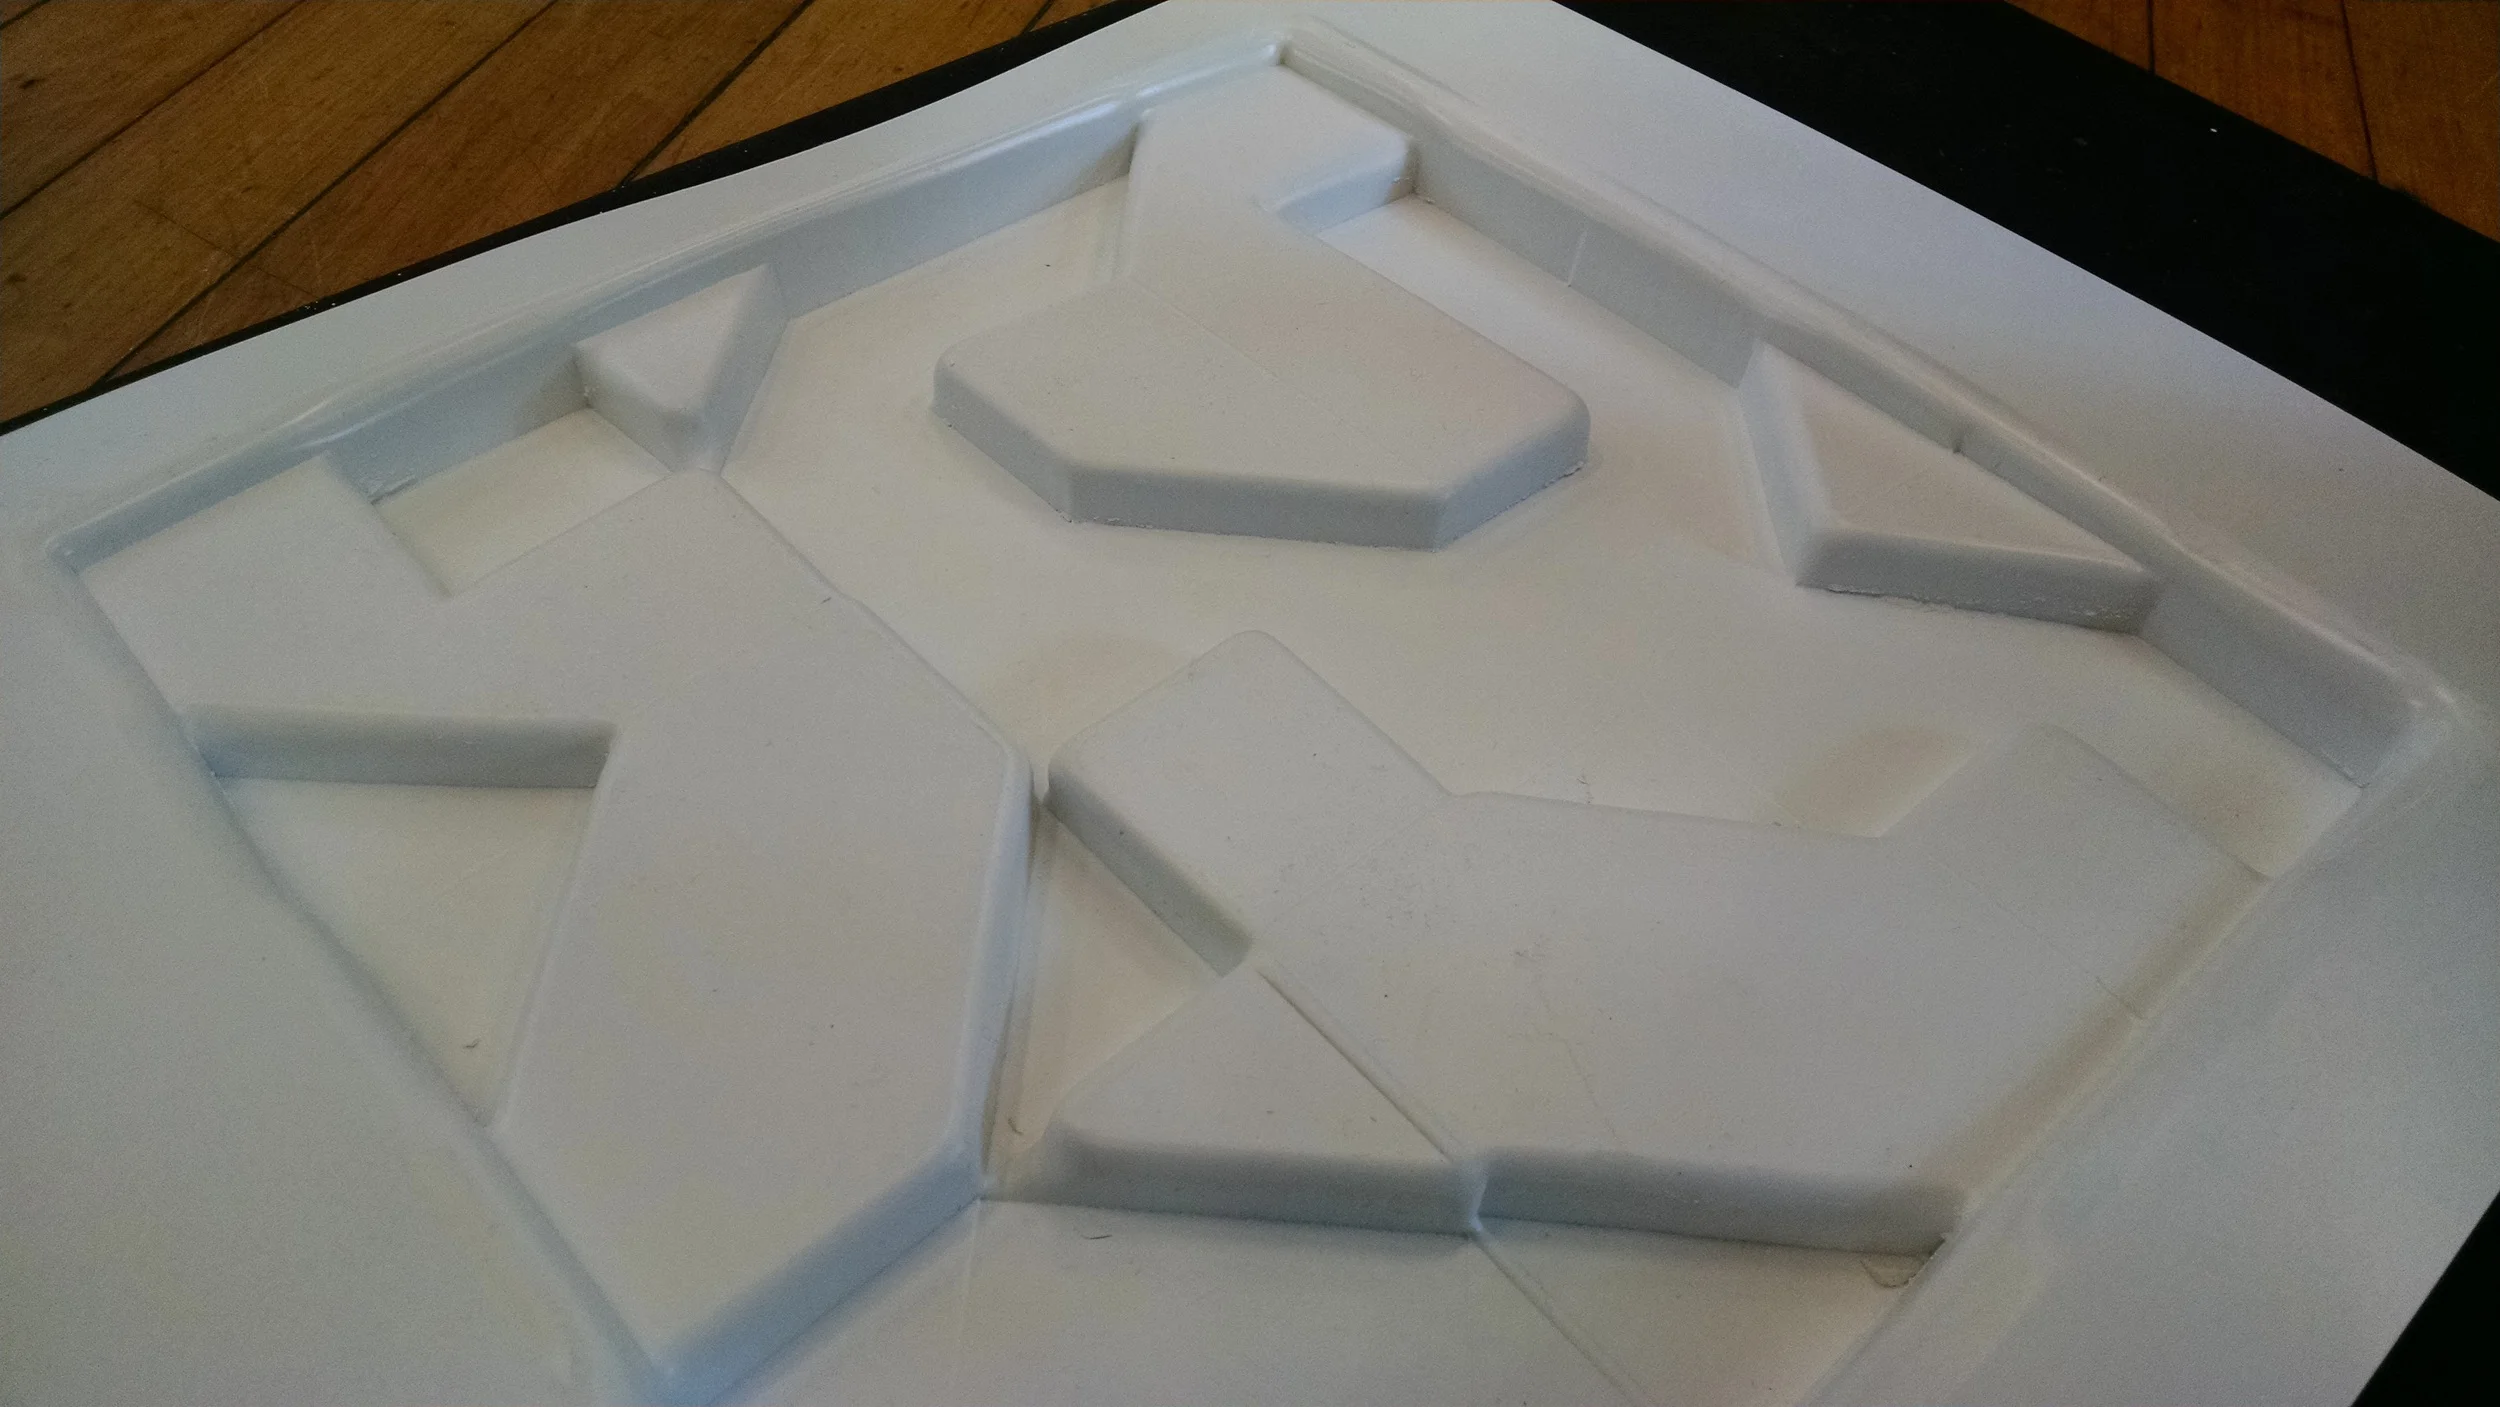
Since I have yet to study a splash guard in detail, I image searched bike splash guards to see the general size and shape of it. The most difficult part of designing the splash guard was finding a shape sturdy enough to cantilever. I used folding techniques instead of additive methods so that the shape would not rely on joinery methods to be structurally stable.

Studies:

First Successful Iteration:

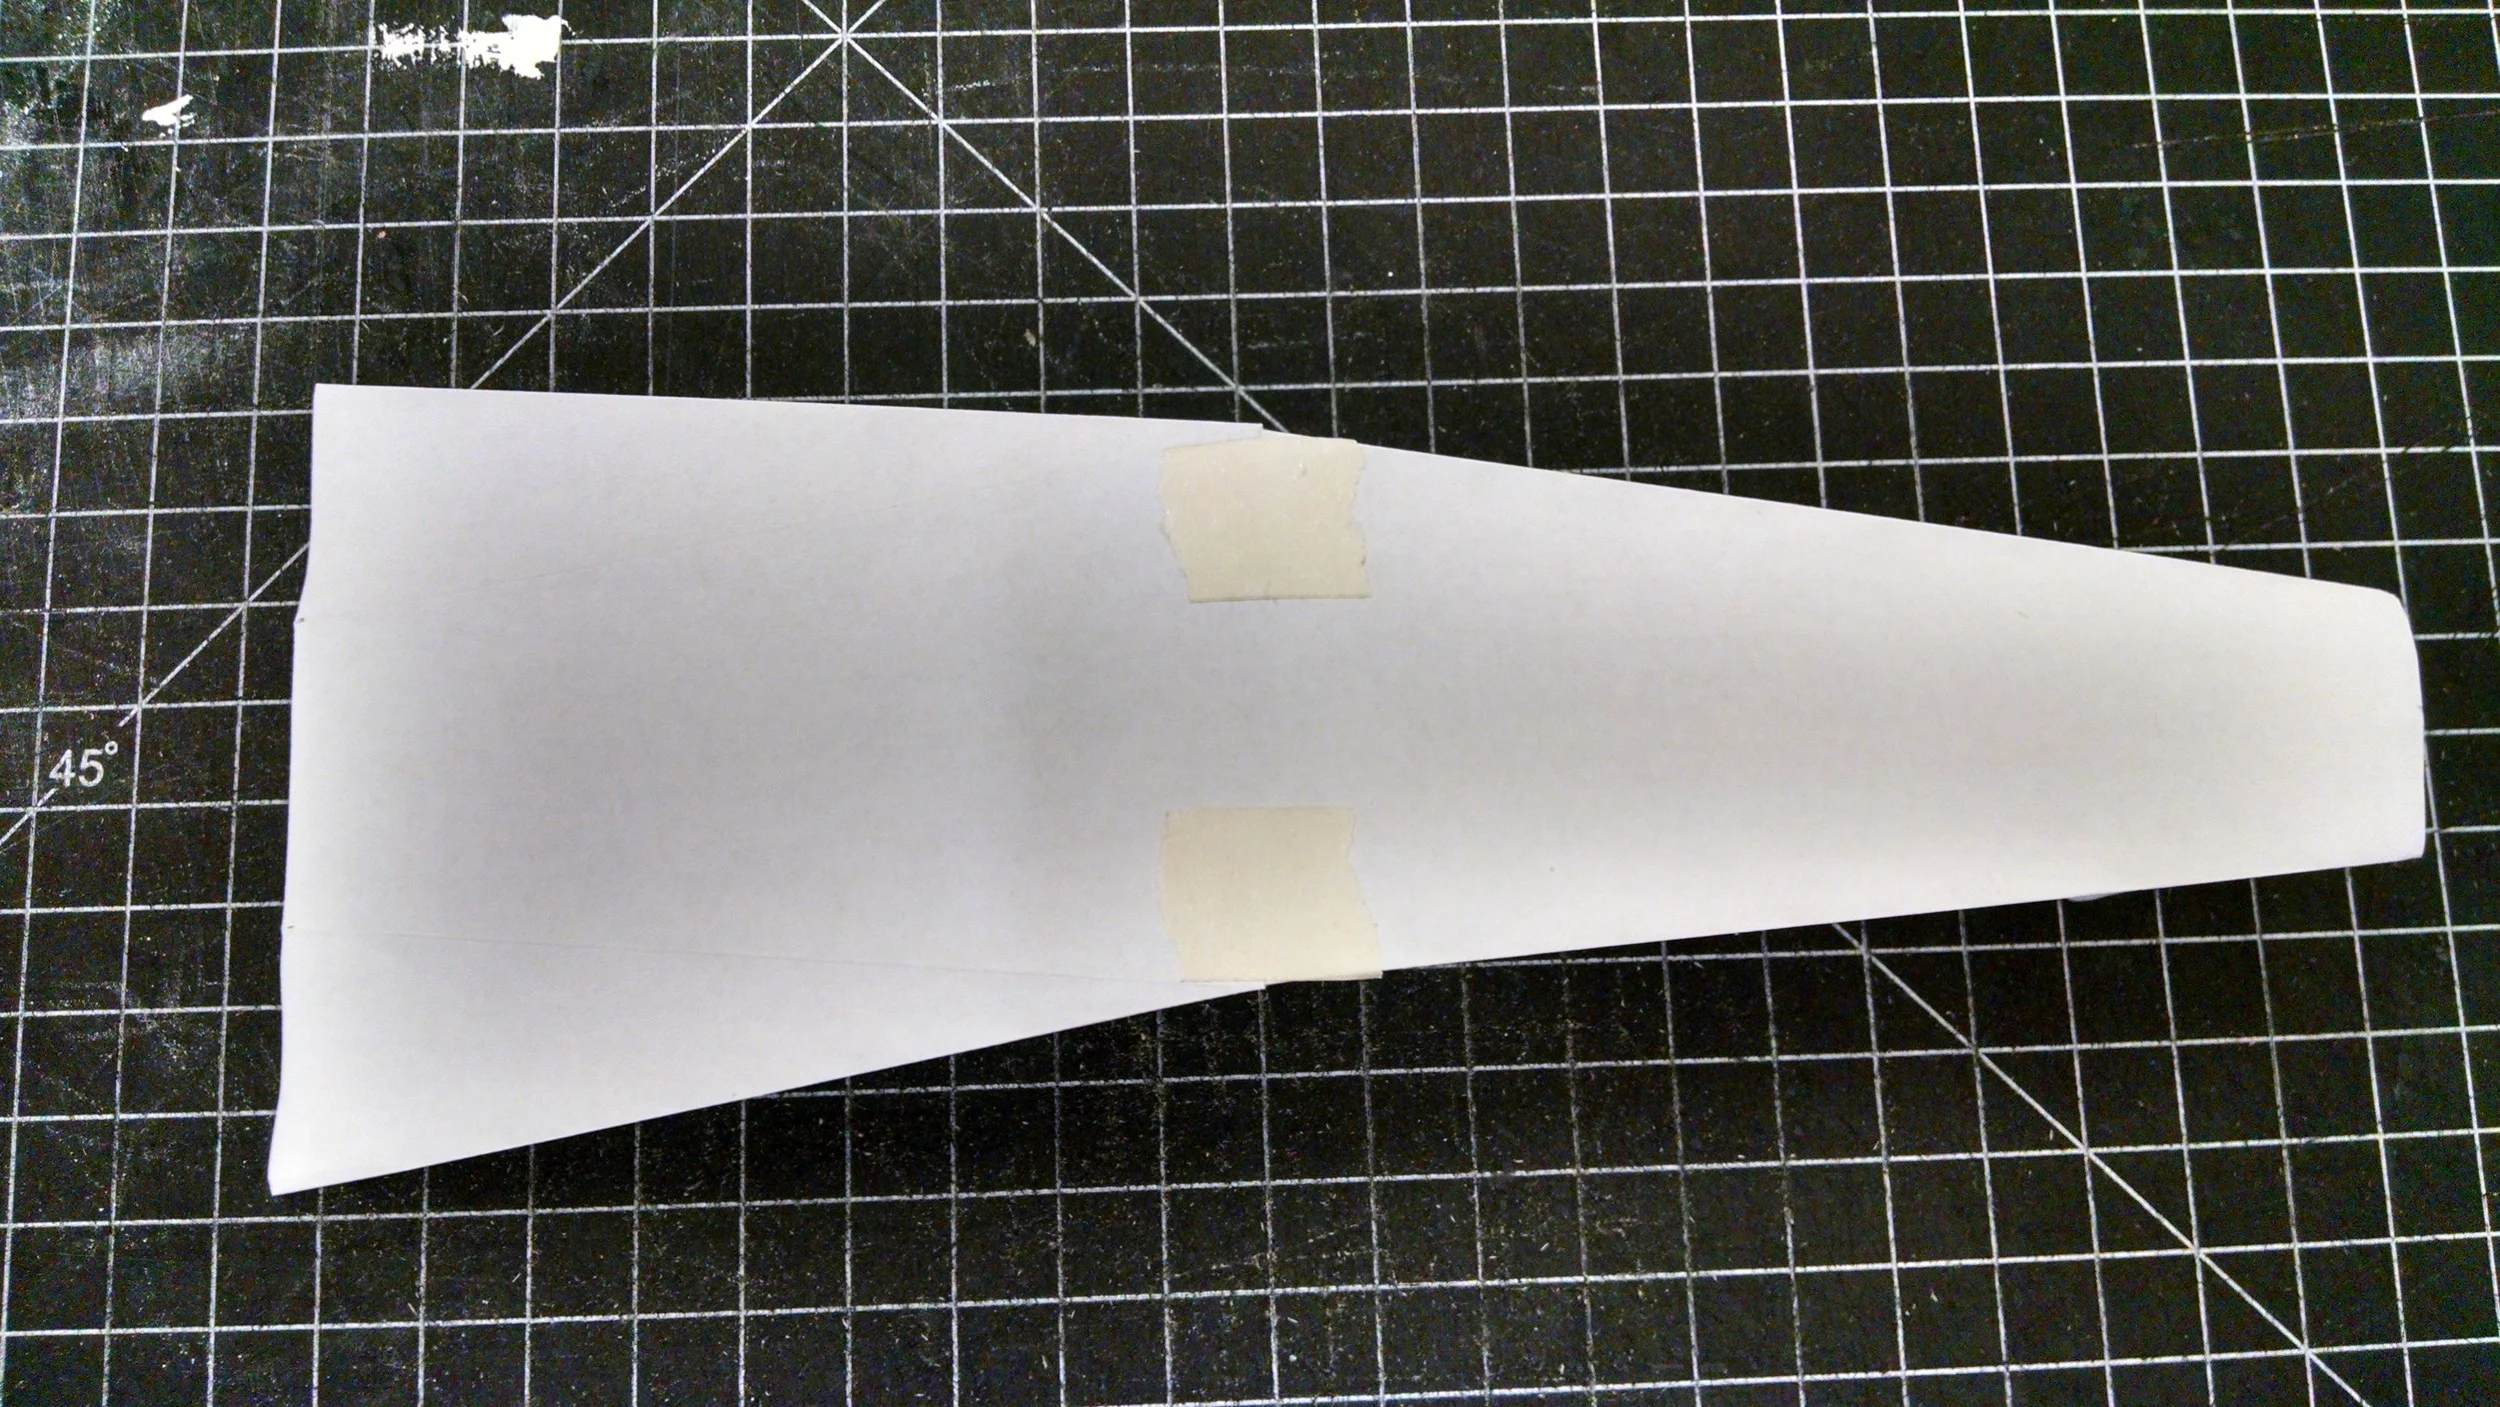
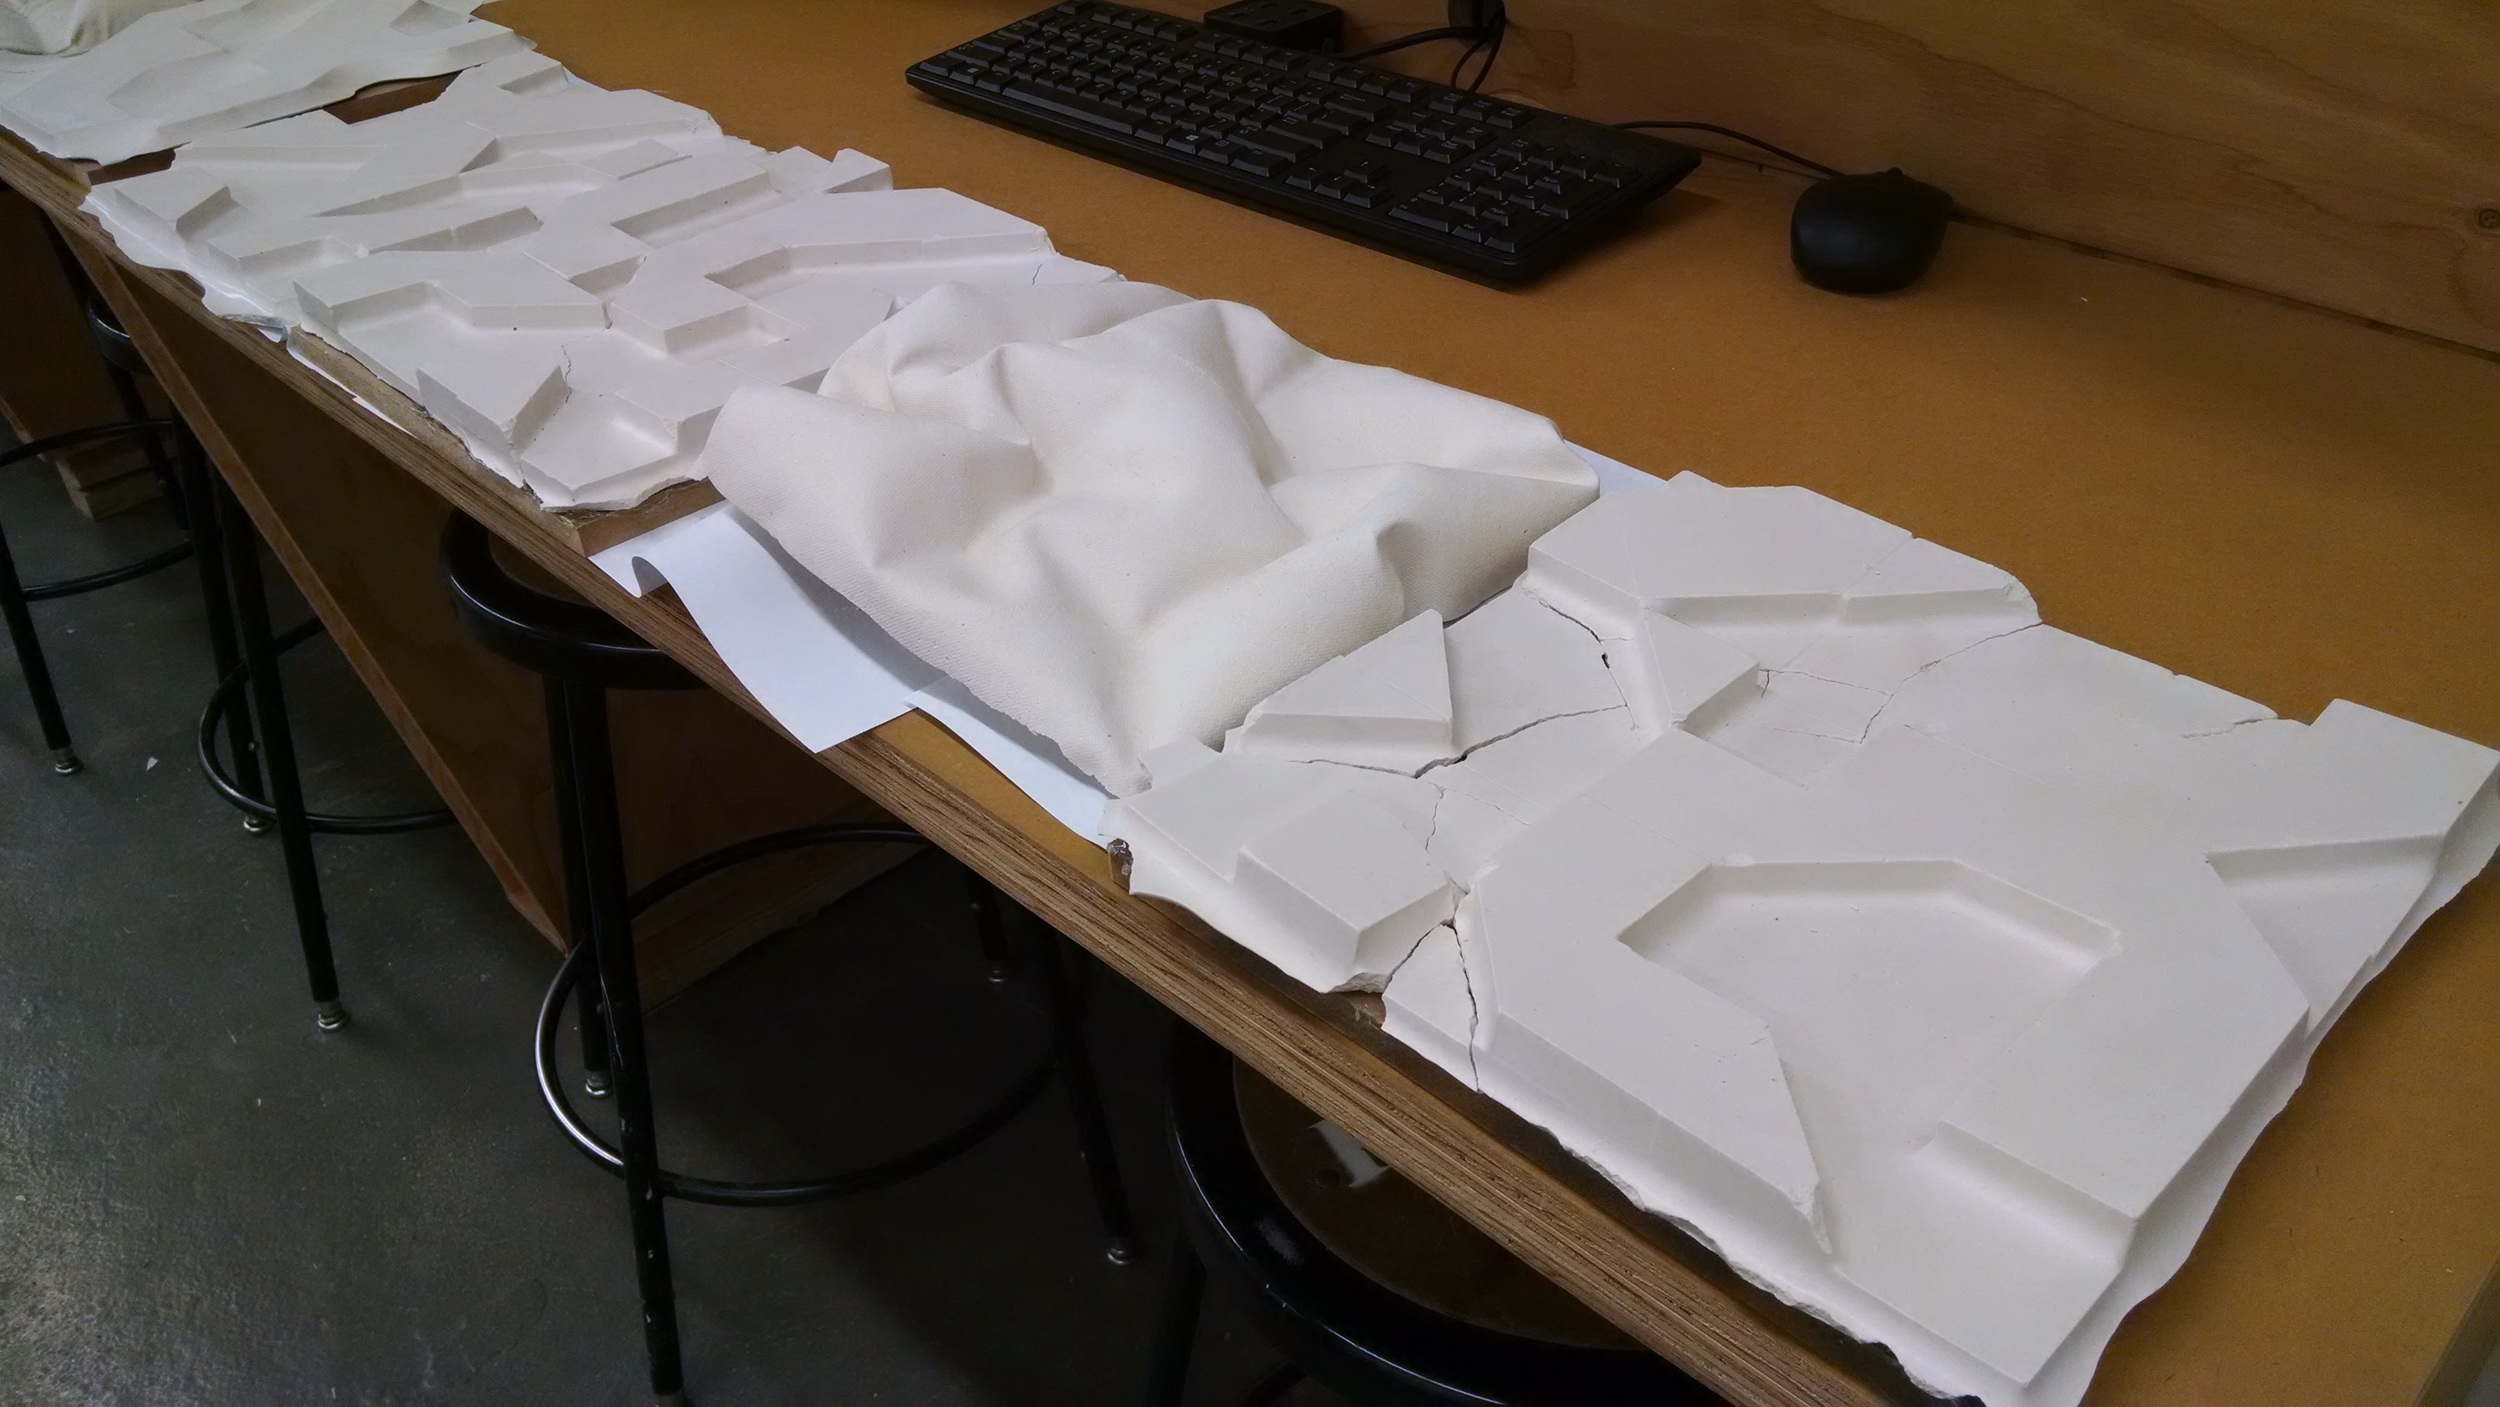
Final Paper Prototype:

Given the last iteration, I extended the length of the splash guard and made minor changes to accommodate the added length.


2) Final Product

[Making Intelligence] Obstacle Eight + Nine // Casting and Molding


Project Brief

"Design and build a reconfigurable formwork within a 10" x 10" plaster tile."


Tools and Materials Used

MDF
Canvas
Wood dowels
Plastic: PETG, Polystyrene
Wax
Plaster
Vacuum forming


Obstacle 8

For this obstacle, I considered the spatial possibilities of the tile with a simple and modular design approach. I did not want to design the four tile variations and then create the different modules, but rather I allowed much room for improvisation and surprises.

Process Photos:

Final Photos:


Obstacle 9

Plaster is usually not seen as a flow-y object. However, in its liquid state, it easily forms to the volume that it is poured into. I wanted to display this form-fitting characteristic of plaster's liquid state once it had solidified. I chose to use canvas as the material for the mold in hopes the texture would translate onto the plaster.

Process Photos:

Final Photos:


All Tiles

[Making Intelligence] Obstacle Seven // Transformer


Project Brief

"Design and 3D print a collapsible armature that can hold a phone upright in a horizontal, landscape position."


Tools and Materials Used

Dimension 768 ABS Plastic Printer
Rhinoceros


1) Process

For this project, I was focused on the practicalities of the phone stand, given the stand would have to be able to hold my personal cellular device and that I am the "client" of this product. Since the stand has to have moving parts, I wanted to take advantage of this and have the stand accommodate more than one angle, similarly to how some tablet covers have multiple angle settings.

The shape of the phone stand is rectilinear for practical reasons, and I first estimated comfortable angles for the phone to be resting at.

2) First Print

I had used the wrong tolerances for the first 3D file, so the hinges did not work out. Some cutting had to be done to separate the "legs" from the base.

3) Final Print