Project Brief
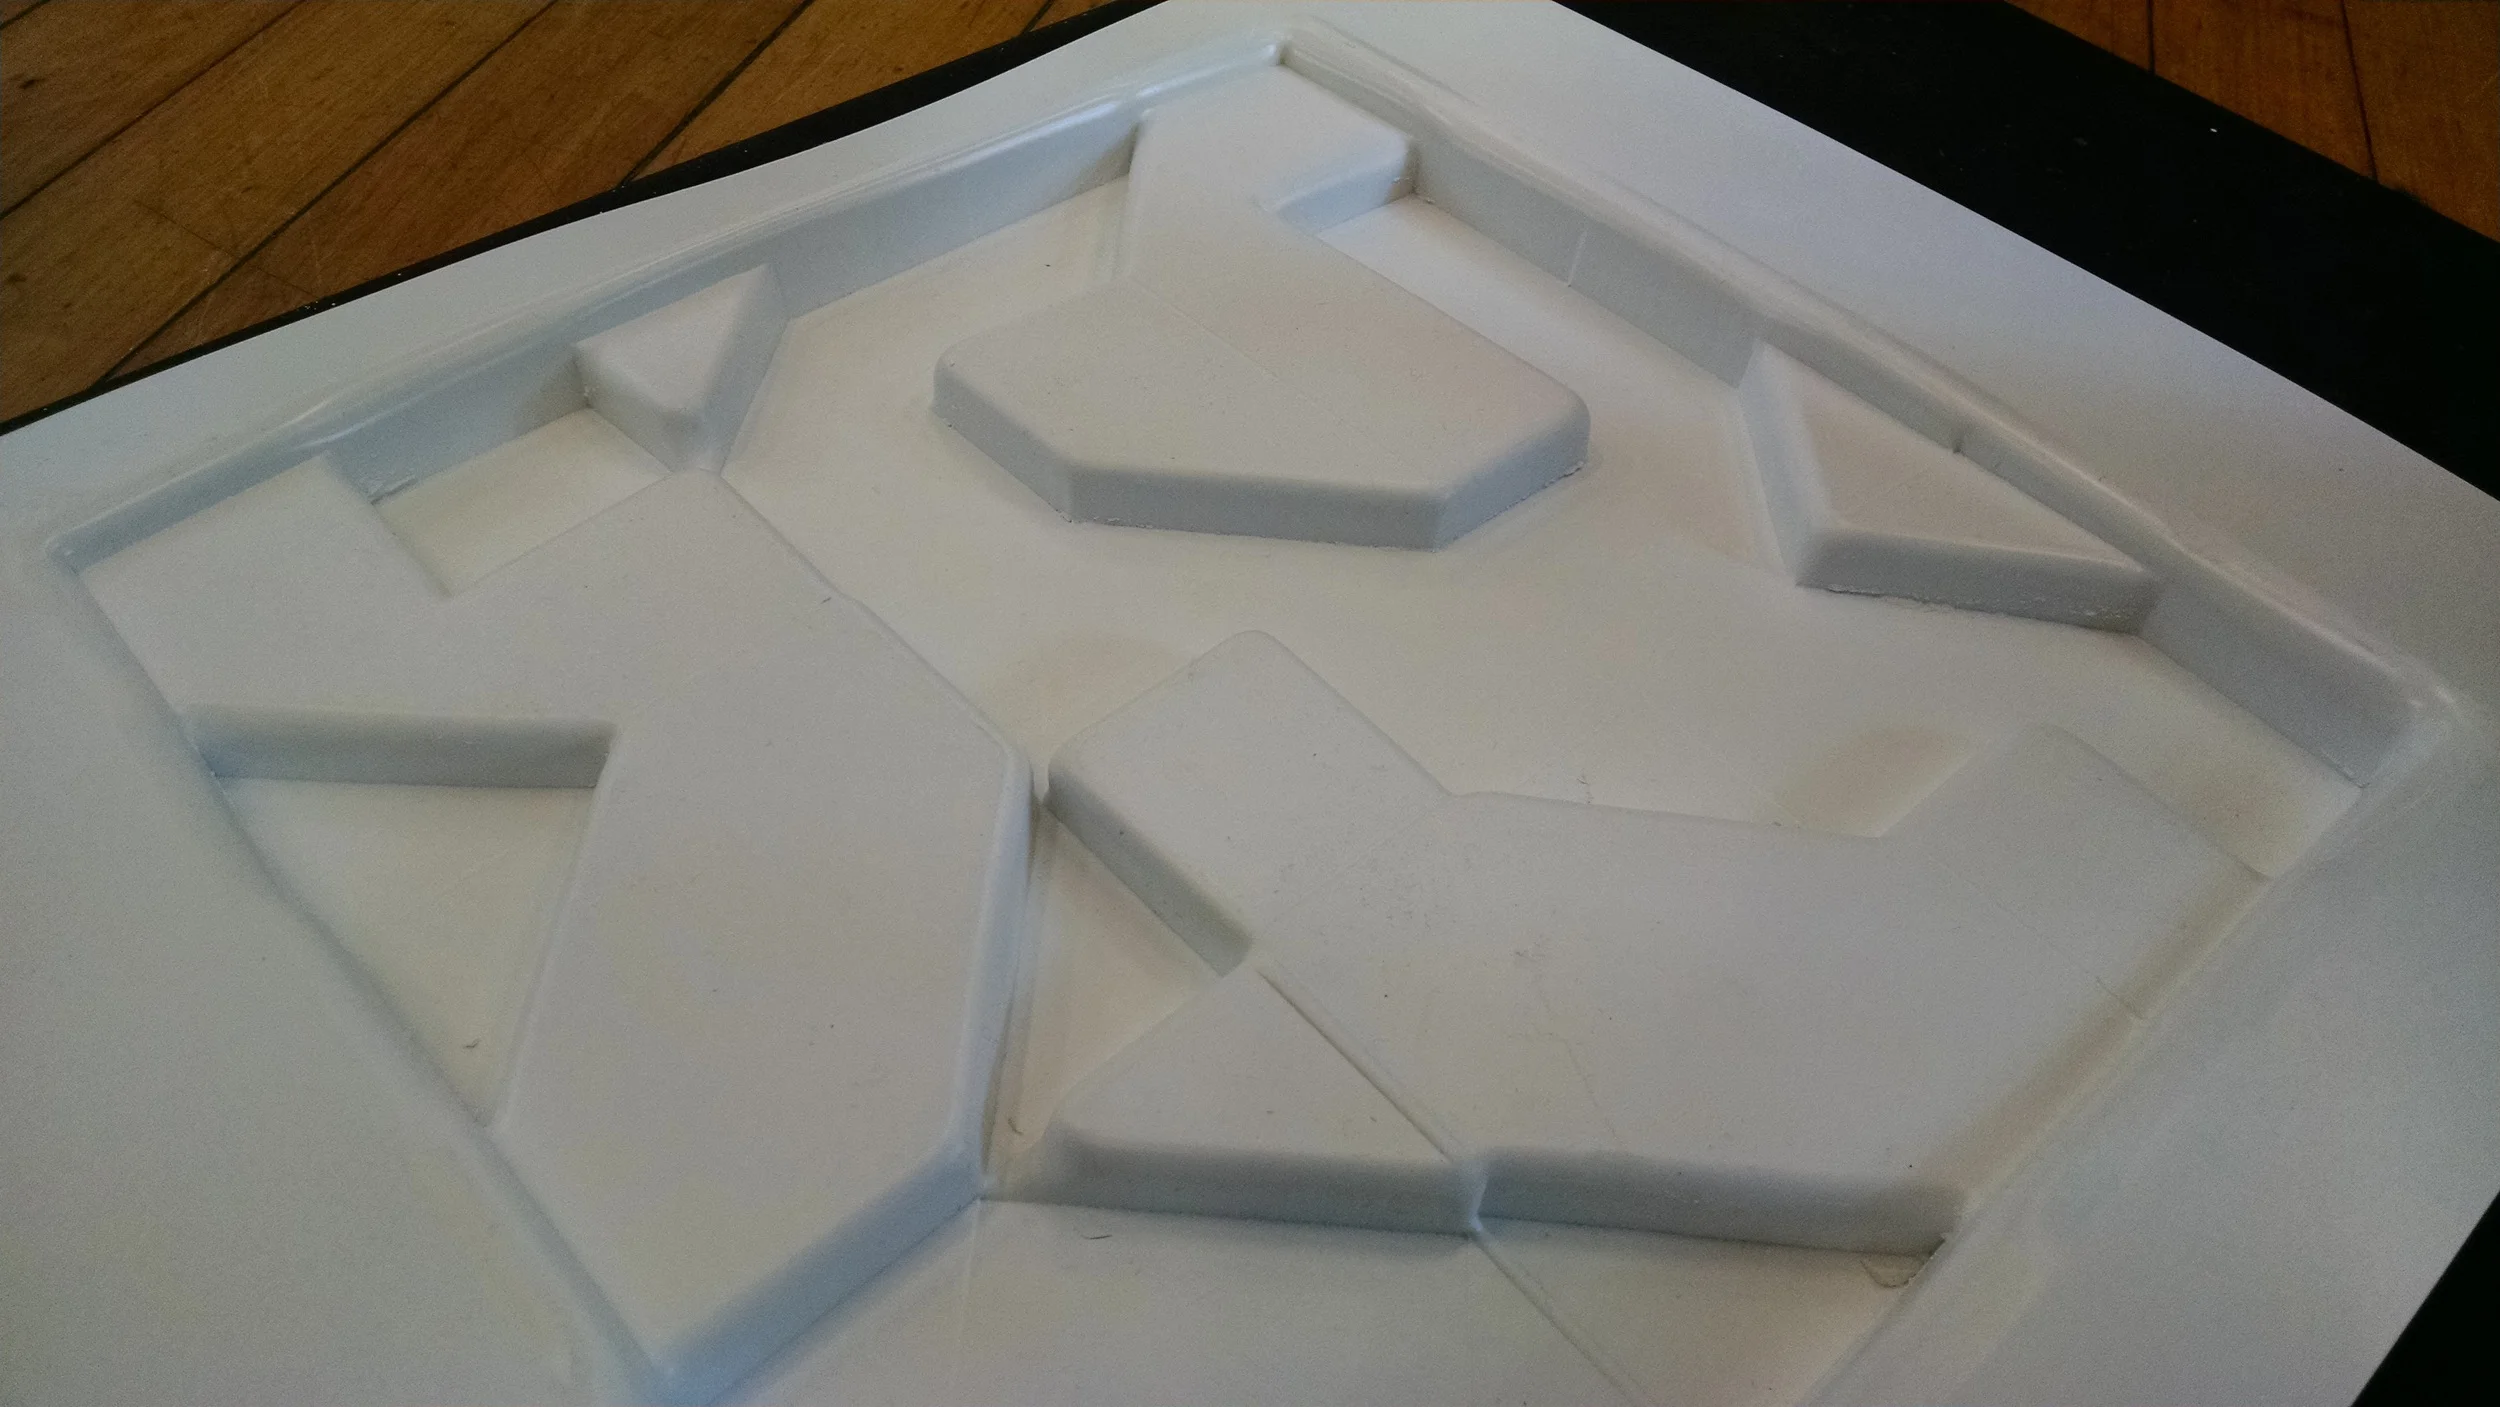
"Design and build a reconfigurable formwork within a 10" x 10" plaster tile."
Tools and Materials Used
MDF
Canvas
Wood dowels
Plastic: PETG, Polystyrene
Wax
Plaster
Vacuum forming
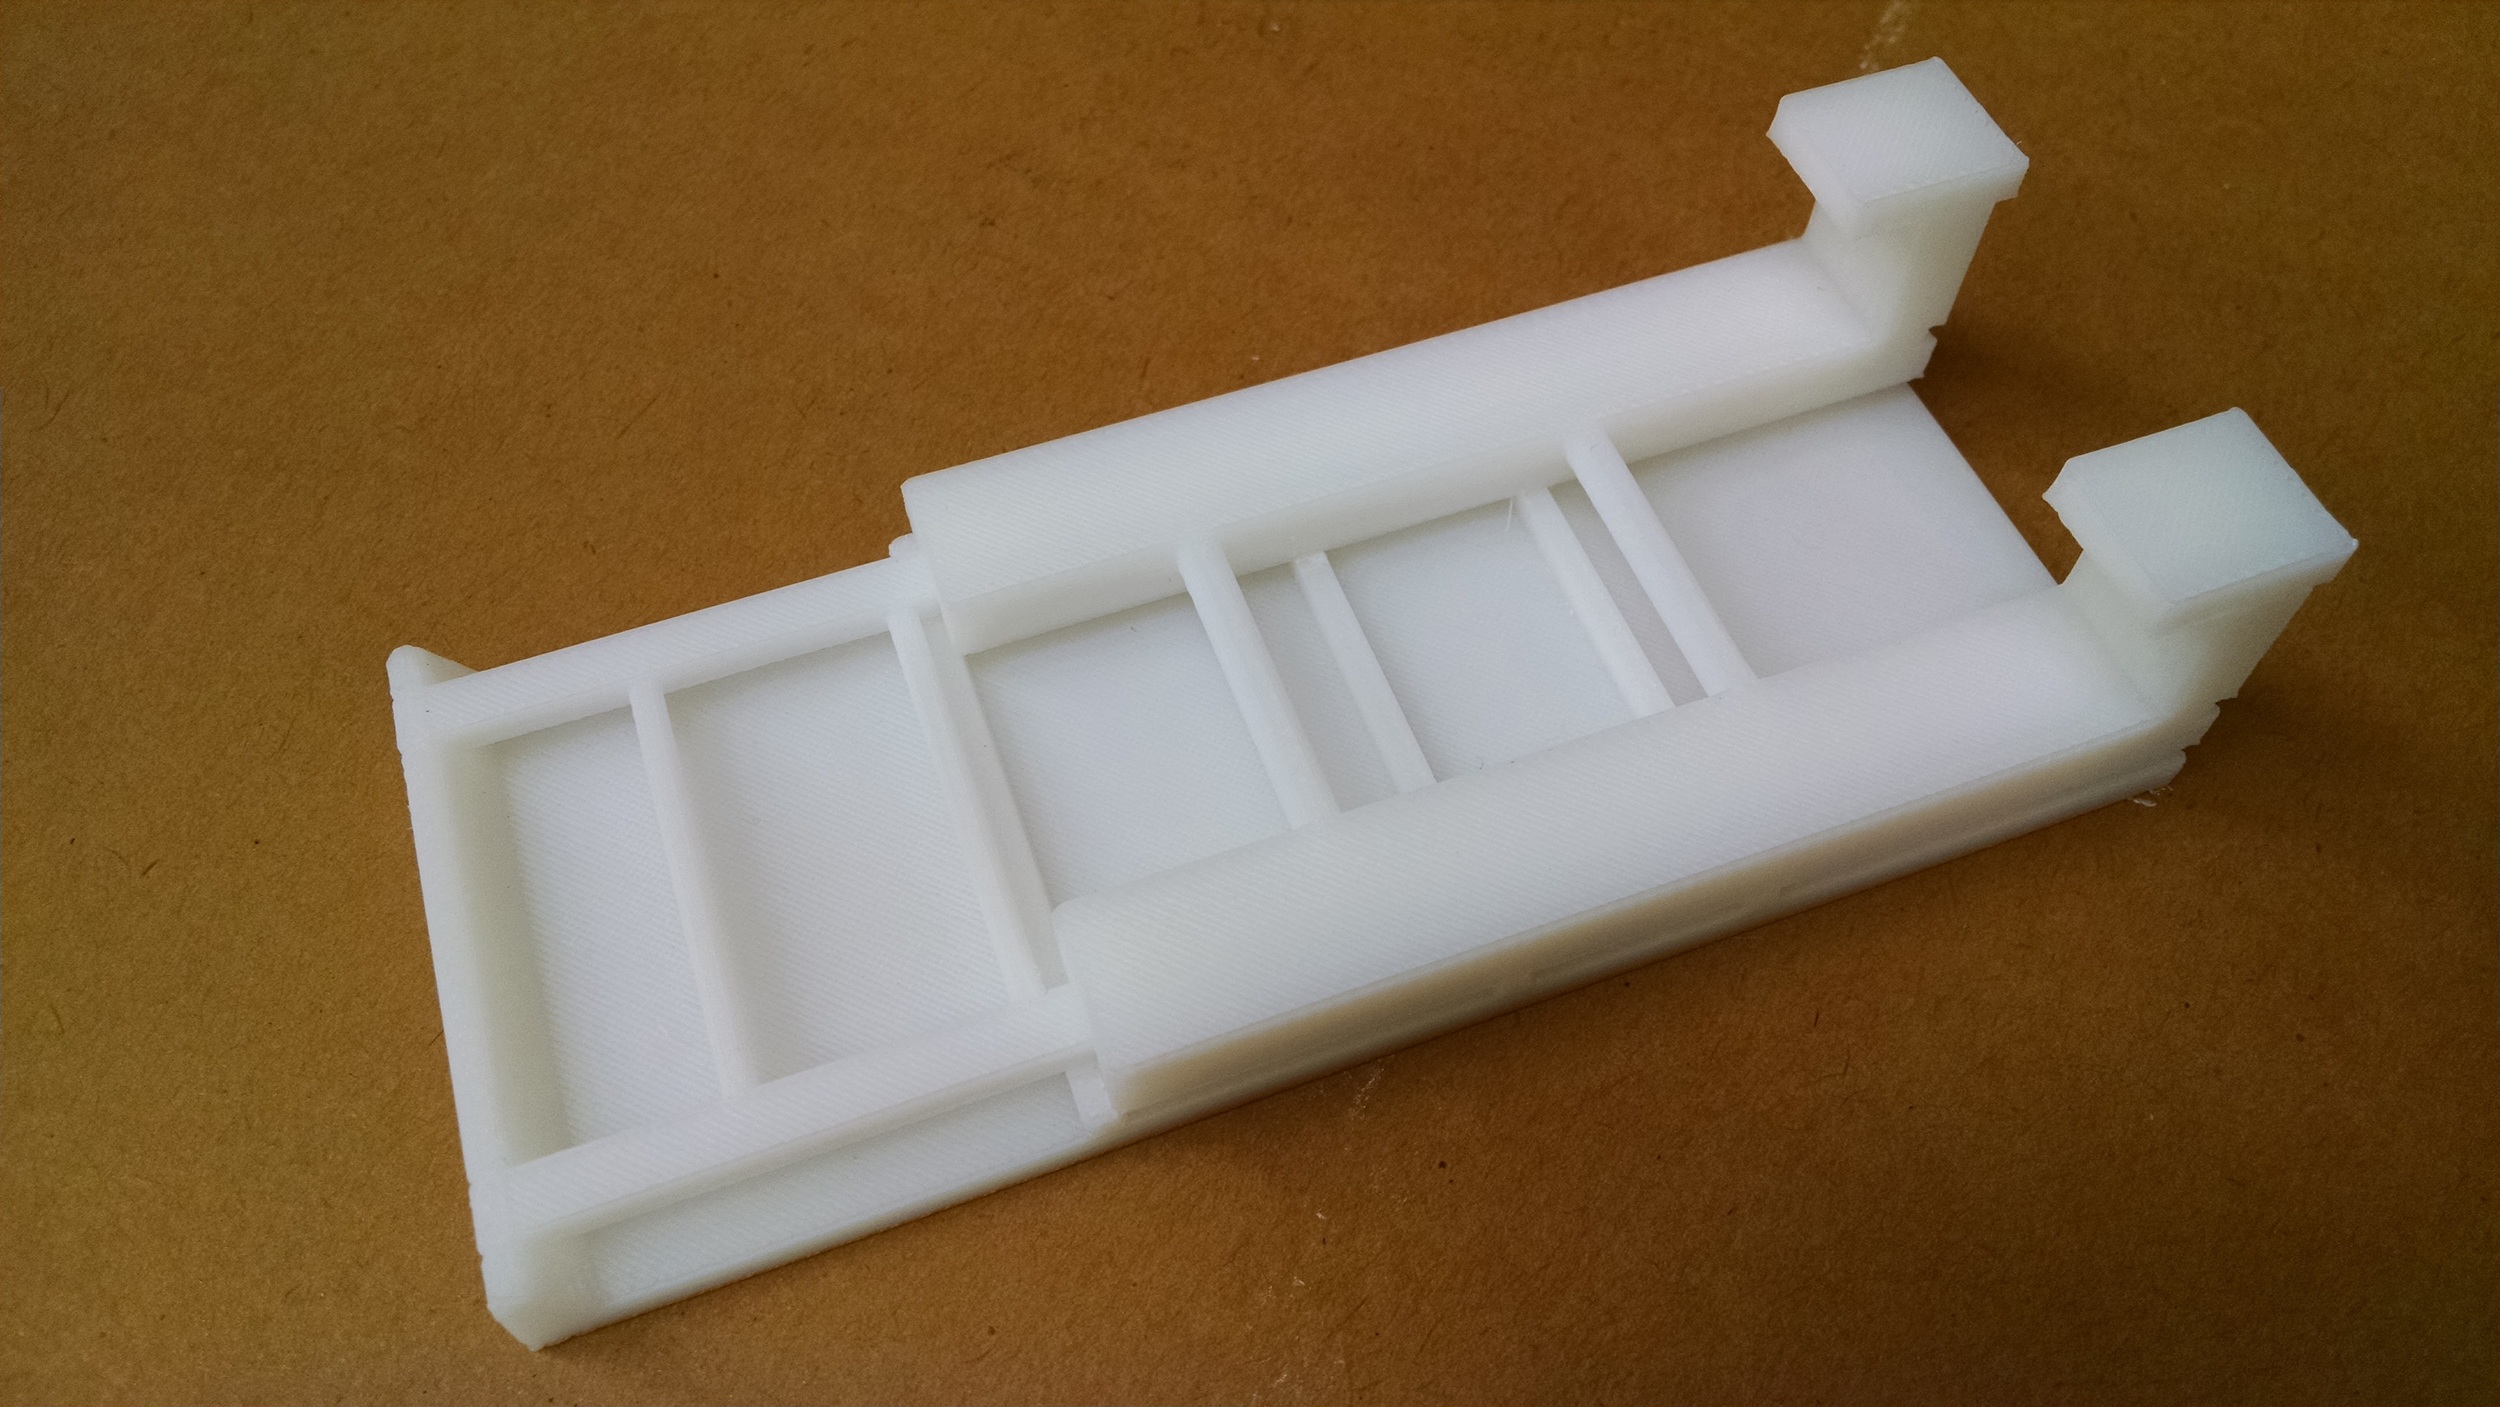
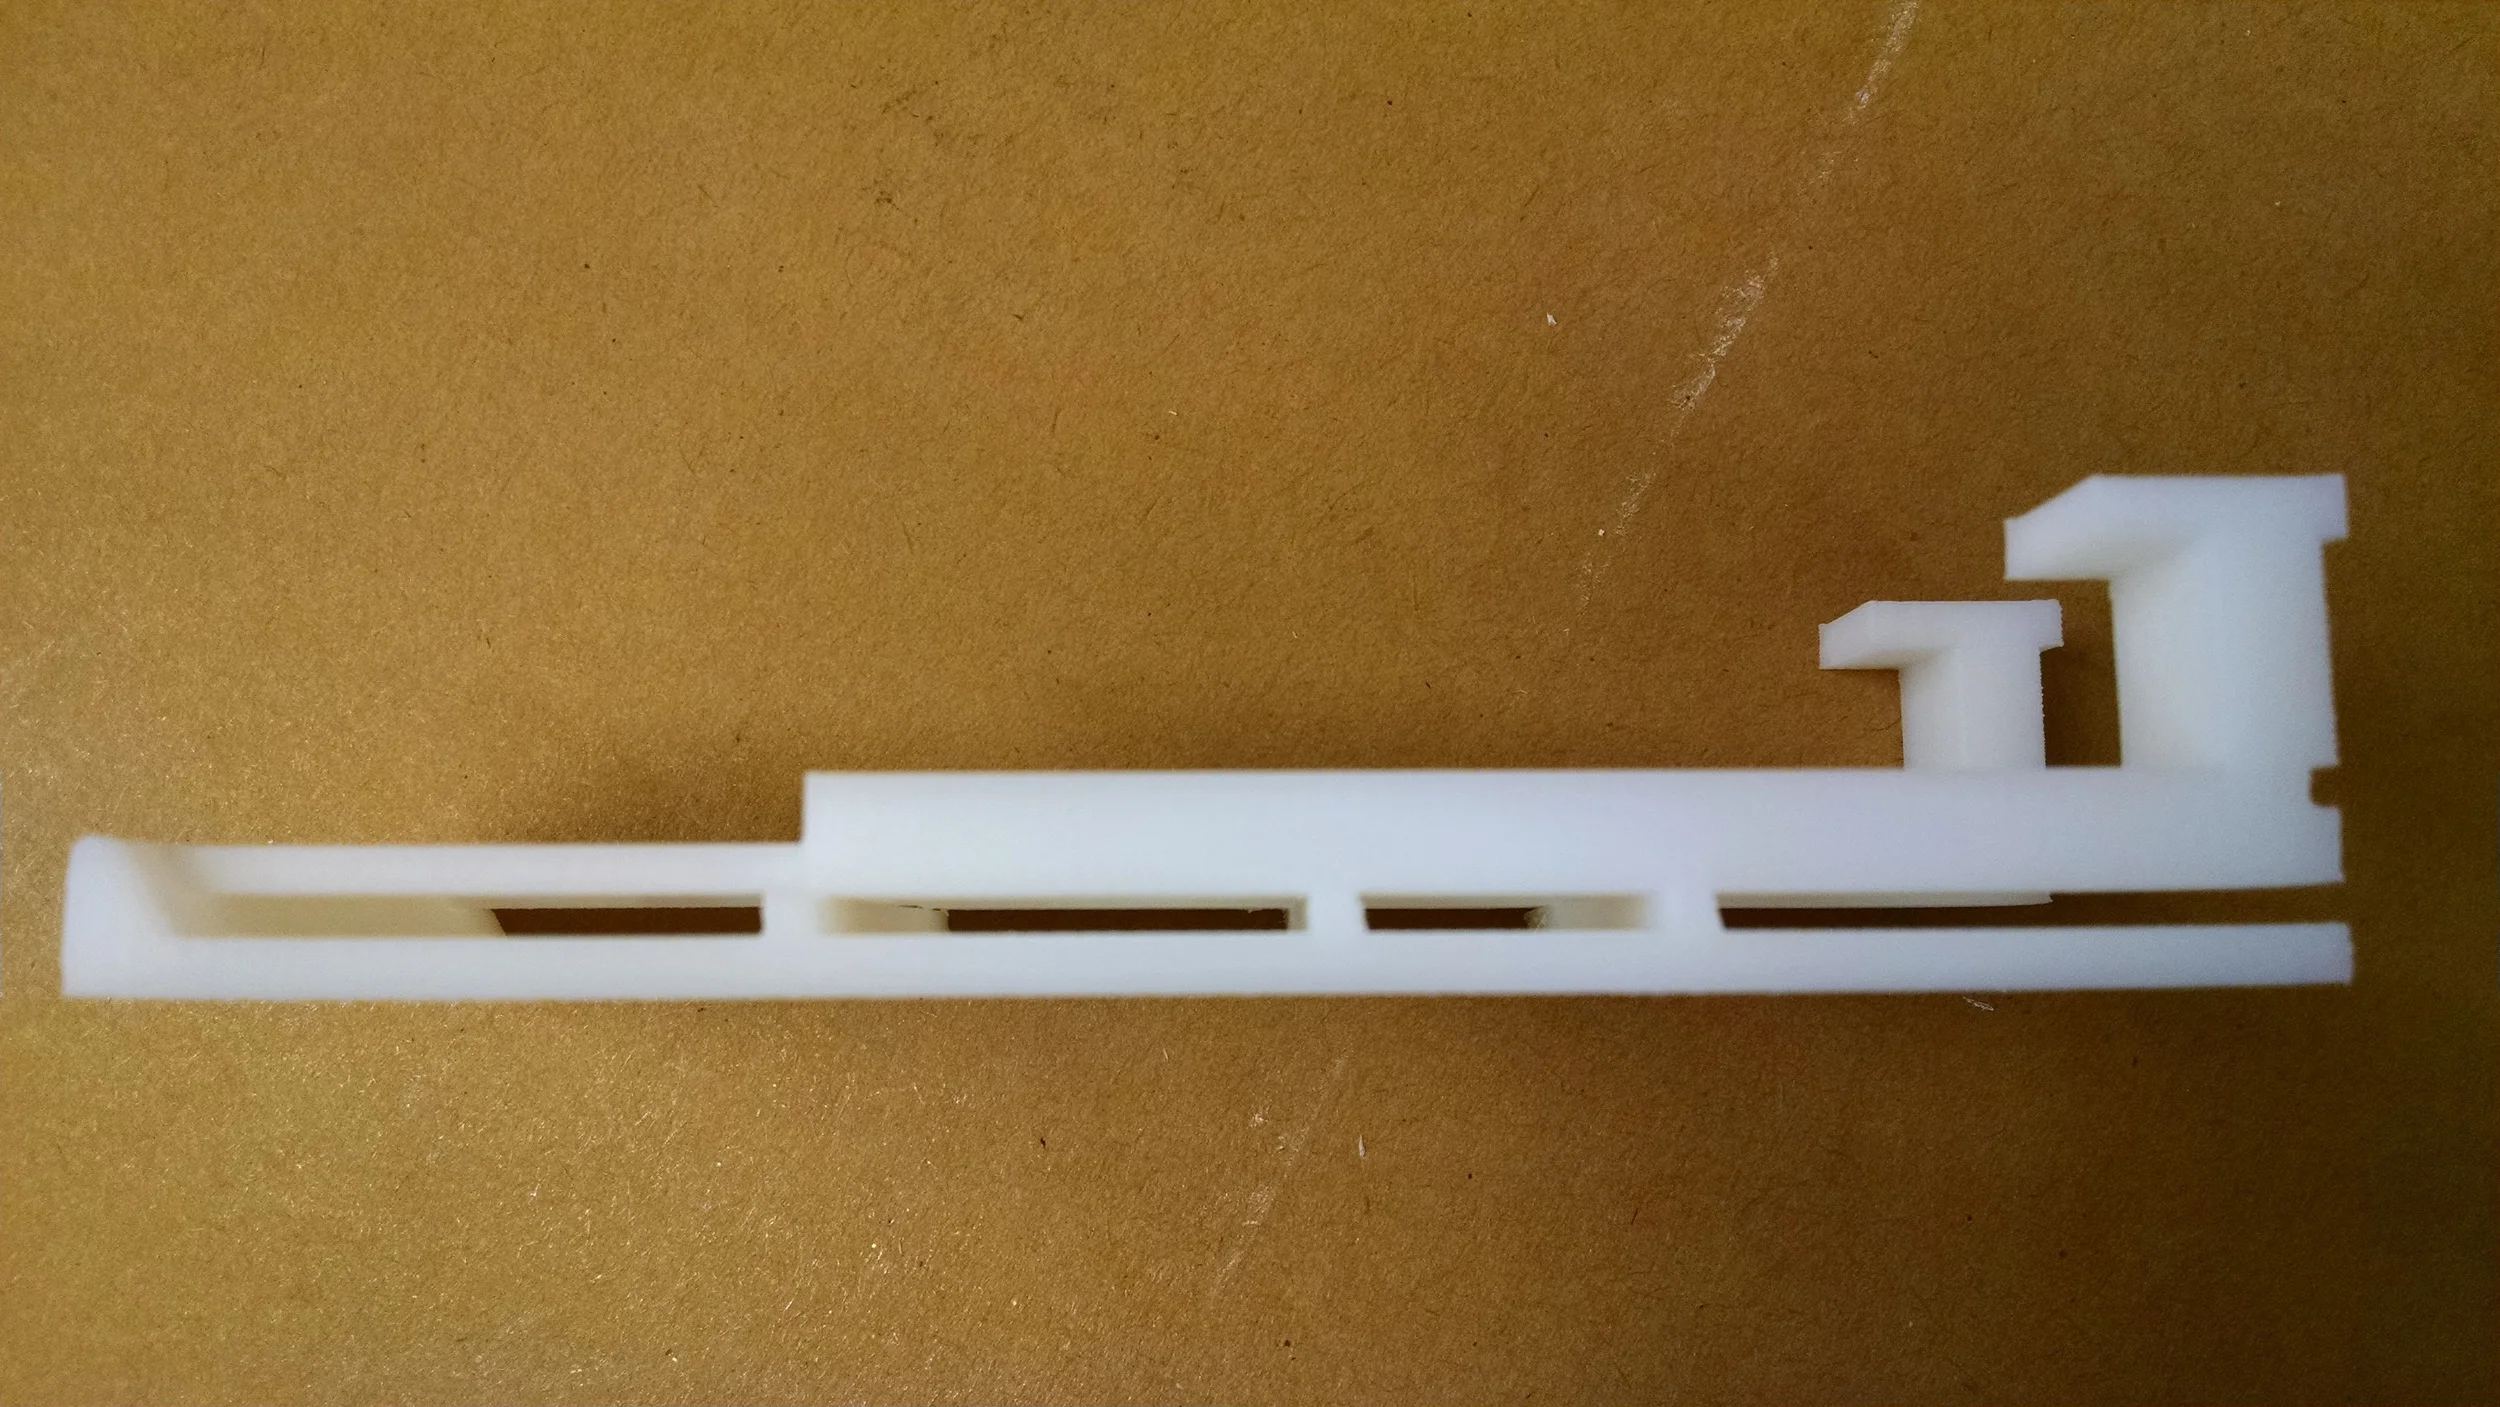
Obstacle 8
For this obstacle, I considered the spatial possibilities of the tile with a simple and modular design approach. I did not want to design the four tile variations and then create the different modules, but rather I allowed much room for improvisation and surprises.


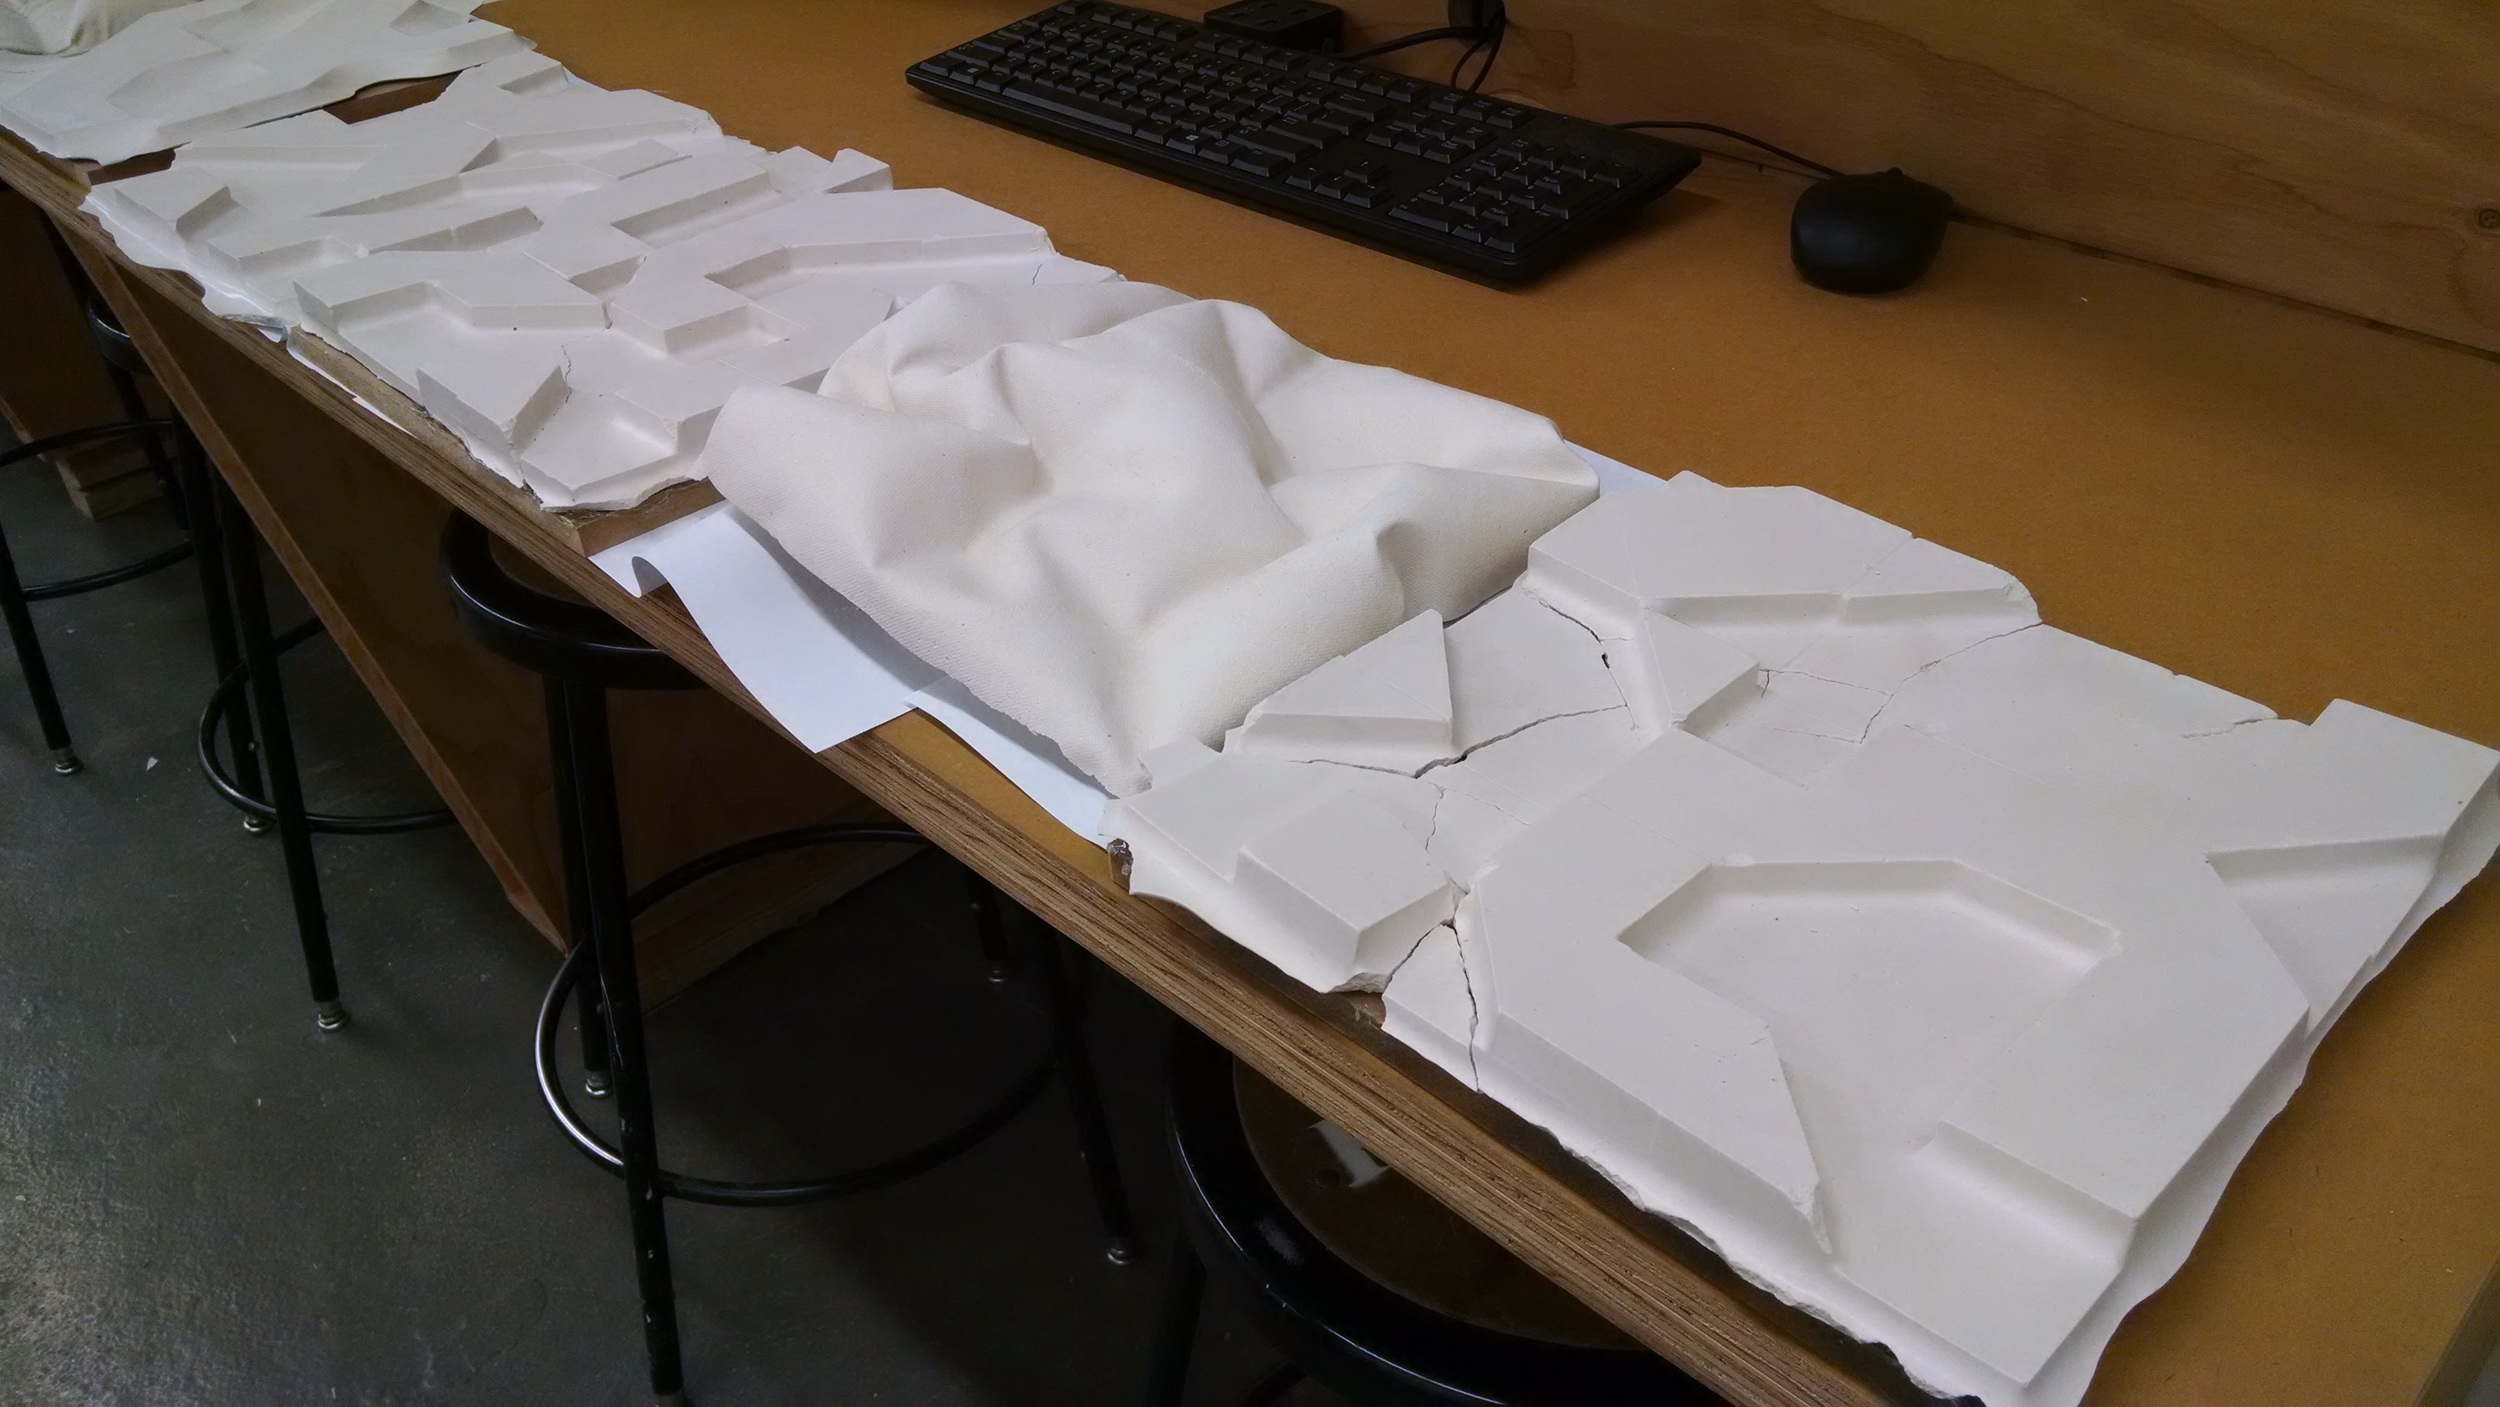
Obstacle 9
Plaster is usually not seen as a flow-y object. However, in its liquid state, it easily forms to the volume that it is poured into. I wanted to display this form-fitting characteristic of plaster's liquid state once it had solidified. I chose to use canvas as the material for the mold in hopes the texture would translate onto the plaster.